Introduction
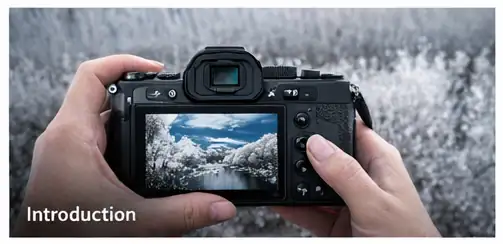
Infrared photography has changed significantly since the early days of digital cameras. What used to require special film and uncertain processing can now be done instantly with digital tools. However, while the process is easier, the technical limitations and quirks of infrared capture still remain.
Modern cameras are actually less friendly to infrared than some early digital models, because manufacturers aggressively block infrared light to improve color accuracy. This means that while any digital camera can technically capture infrared, not all of them do it well without modification.
This article explains both the traditional techniques and how they apply to modern cameras.
What's so different about IR?

Infrared images often resemble black and white photography at first glance, but the tonal relationships are very different. Foliage becomes bright, skies turn dark, and materials reflect light in unexpected ways.
The most striking difference is vegetation. Leaves reflect infrared strongly, producing the well-known glowing “Wood effect.” At the same time, clear skies absorb infrared, appearing almost black.
These differences create images that feel surreal and unfamiliar, which is the main artistic appeal of infrared photography.
The camera
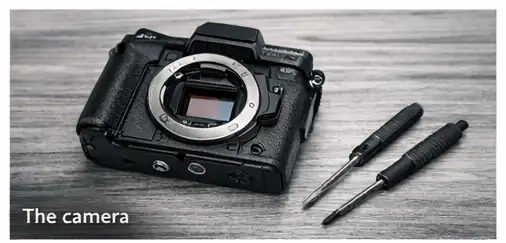
All modern digital cameras use CMOS sensors that are sensitive to infrared light. However, manufacturers place a strong infrared-blocking filter in front of the sensor. This improves normal color photography but makes infrared shooting more difficult.
Because of this, most modern cameras require long exposures when used with an external infrared filter. This is why early digital cameras were sometimes preferred: they allowed more infrared light to reach the sensor.
Today, there are two main approaches:
- Use a standard camera with an external IR filter.
- Use a converted camera with the internal filter removed or replaced.
The second option is now the preferred solution for serious work.
Mirrorless vs DSLR
Older advice often warned against using DSLRs for infrared photography due to the lack of live preview. That limitation no longer applies in the same way.
Modern mirrorless cameras have electronic viewfinders and live view that show the image directly from the sensor. This makes infrared composition and focusing much easier than in older DSLR systems.
As a result, mirrorless cameras are now the best general-purpose choice for infrared photography.
Dedicated IR cameras
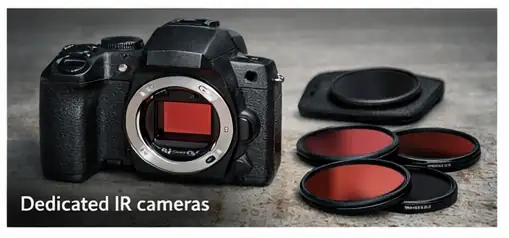
Instead of fighting the internal infrared-blocking filter, many photographers choose to convert a camera for infrared use. This involves replacing the internal filter with one that passes infrared light.
Converted cameras can be optimized for specific wavelengths such as 590nm, 665nm, 720nm, or 830nm. Each produces a different look, from colorful false-color images to deep monochrome infrared.
Specialist infrared cameras also exist, but they are generally intended for scientific or forensic use and are not widely available to consumers.
For most photographers, converting a standard mirrorless camera is the most practical approach.
The IR filter
If you are using an unmodified camera, you will need an infrared filter mounted on the lens. The most common starting point is a 720nm filter, which provides a strong infrared effect while still allowing manageable exposure times.
Darker filters block more visible light but require longer exposures. Lighter filters allow more visible light and can produce color effects.
A tripod is usually required when using external filters, as exposure times can reach one second or longer in daylight.
Image preview
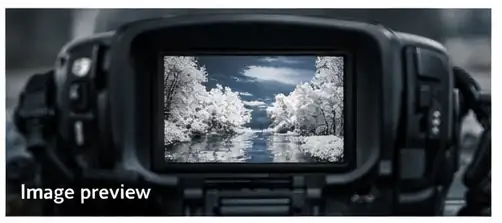
With modern mirrorless cameras, image preview is straightforward. You can compose directly through the screen or electronic viewfinder, even with an infrared filter attached.
This is a major improvement over older systems, where photographers had to compose without the filter and then attach it before shooting.
Exposure setting
Infrared exposures can be tricky. The camera may not meter accurately, and the image often appears heavily biased toward the red channel.
It is usually better to slightly underexpose to avoid clipping highlights, especially in the red channel. Bracketing exposures is strongly recommended until you understand how your camera behaves.
With converted cameras, exposure behaves much more like normal photography.
Hot spots
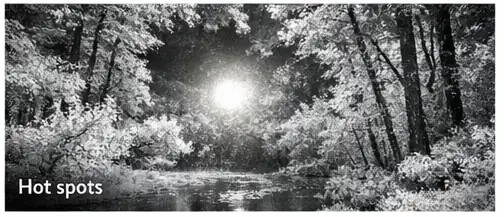
Some lenses produce a bright spot in the center of infrared images. This is caused by internal reflections and coatings that behave differently in infrared light.
Hot spots vary by lens and aperture, and there is no universal solution. Testing your lens is essential.
Focus
Infrared light focuses at a slightly different point than visible light. In older systems this caused noticeable focus errors.
Modern mirrorless cameras reduce this problem because focusing is done directly on the sensor. However, small differences can still occur.
Using smaller apertures can help increase depth of field and compensate for minor focus shifts.
Postprocessing
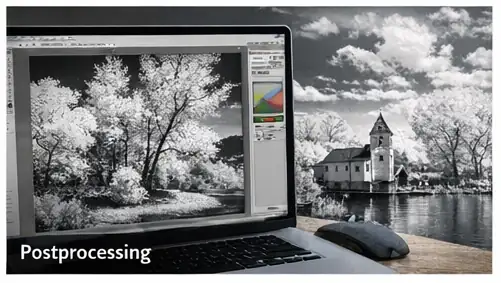
Infrared images often require postprocessing to reach their full potential. Many photographers convert them to black and white, while others experiment with false-color techniques.
Adjusting contrast, levels, and sharpening is usually necessary, as infrared images tend to look flat straight out of the camera.
Color in IR
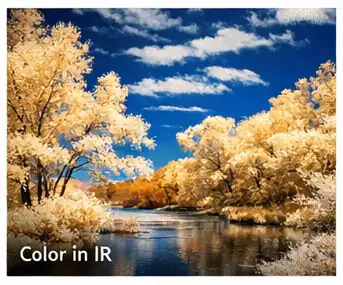
Infrared images can contain color information, but it does not correspond to reality. By manipulating color channels, you can produce striking false-color images.
This technique is especially popular with certain filter types or full-spectrum cameras.
Noise
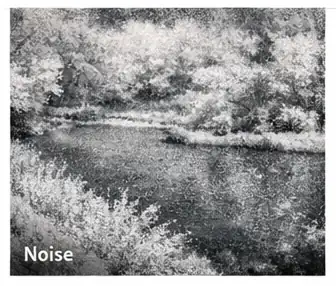
Infrared images often show more noise than standard photographs. This is mainly due to long exposures and limited light reaching the sensor.
Using low ISO settings and proper exposure helps reduce noise, but some amount is unavoidable.
What to shoot
The best subjects for infrared photography include landscapes with foliage, water, and clouds. Bright sunlight often produces the strongest effects.
Architecture and portraits can also work well, especially when combined with the surreal tonal qualities of infrared light.
Camera recommendations (2026)
For infrared photography today, mirrorless cameras are the best starting point. Good options include:
These cameras offer good image quality, live view, and strong support for infrared conversion services.
If you plan to shoot infrared frequently, a converted camera is strongly recommended. It provides faster shutter speeds, easier composition, and more consistent results than using external filters alone.
For occasional experimentation, a standard camera with a 720nm filter is still a good starting point.
The core ideas of infrared photography remain unchanged, but modern tools have made the process far more accessible and flexible than it once was.